45 swamp coloring page
swamp coloring page

Swamp coloring pages | Coloring pages to download and print 0

Check out our swamp coloring page selection for the very best in unique or custom, handmade pieces from our shops. 1

Swamp coloring pages | Coloring pages to download and print 2

Check out our swamp coloring page selection for the very best in unique or custom, handmade pieces from our coloring books shops. 3

Swamp coloring pages | Coloring pages to download and print 4

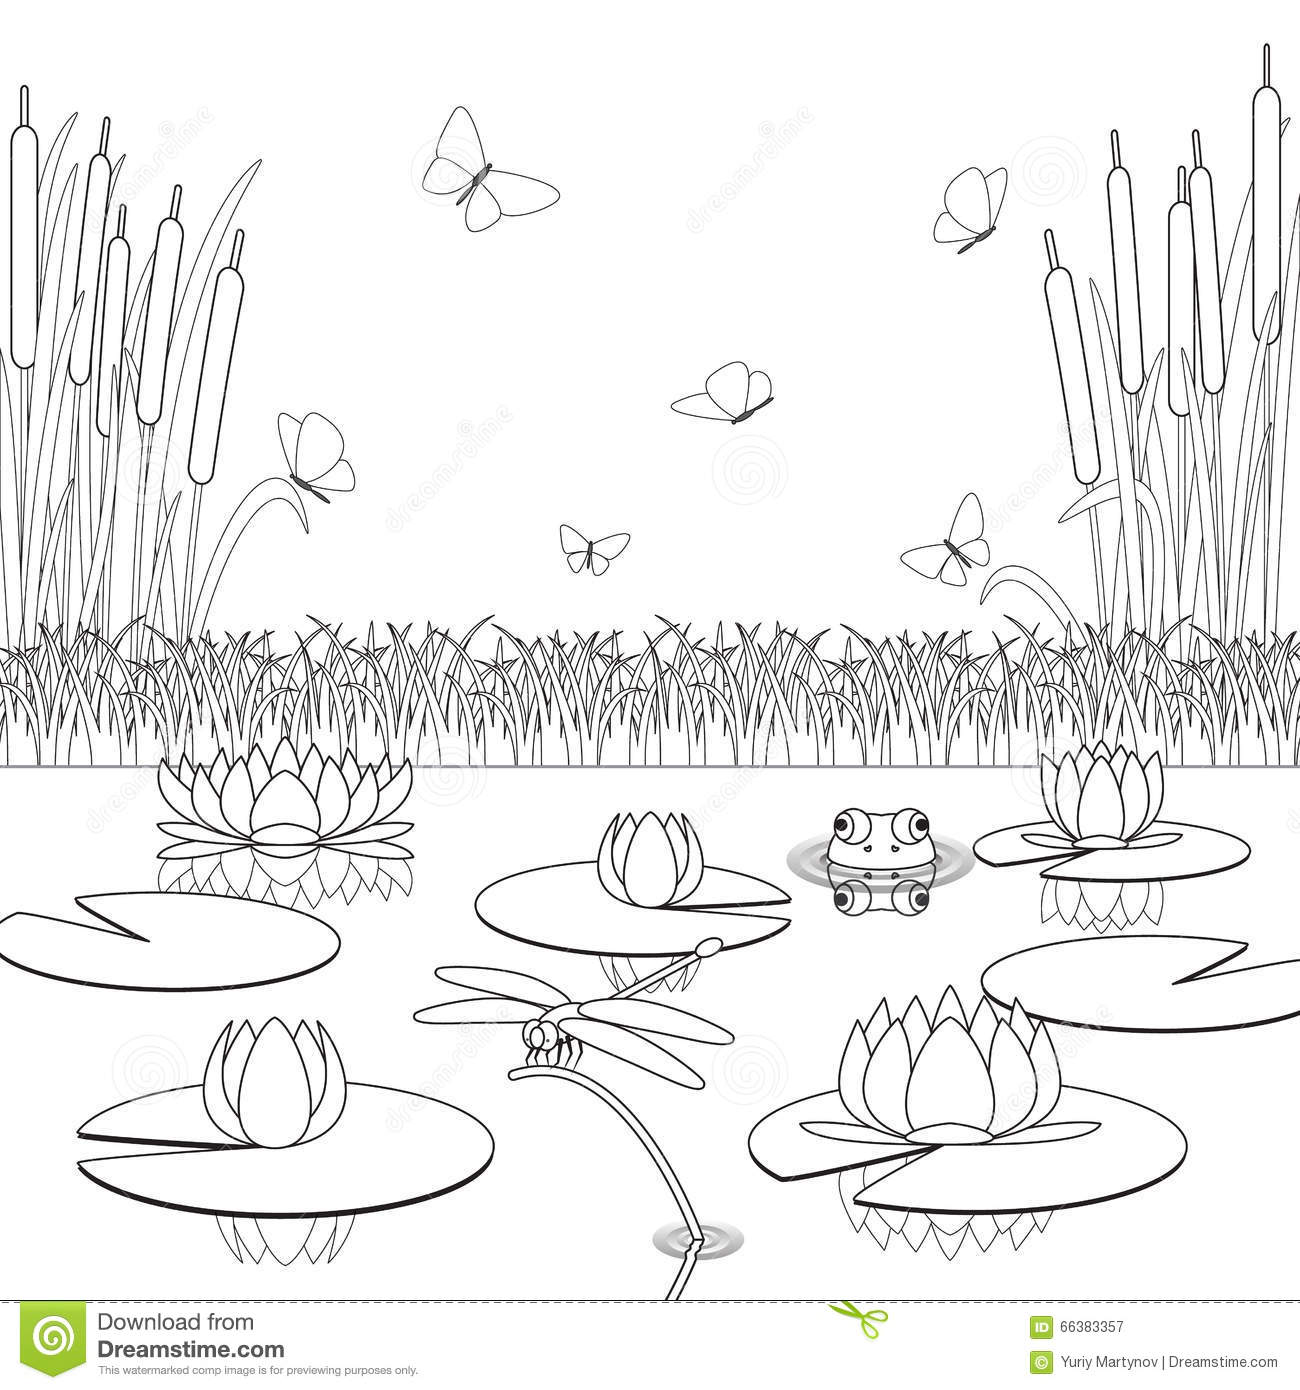
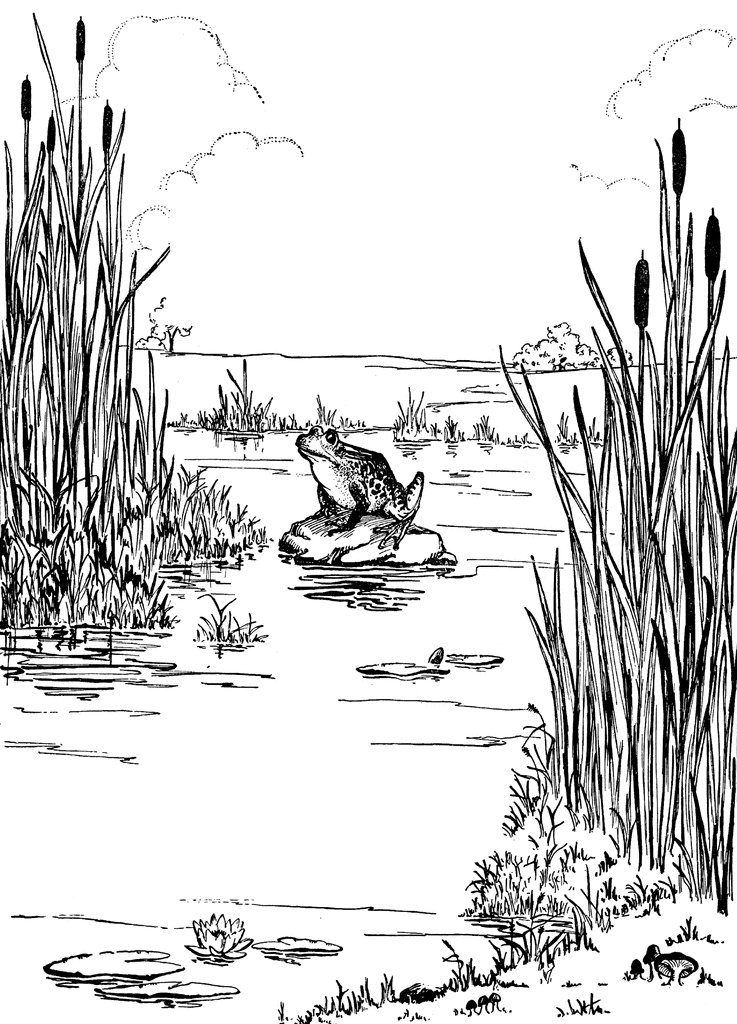
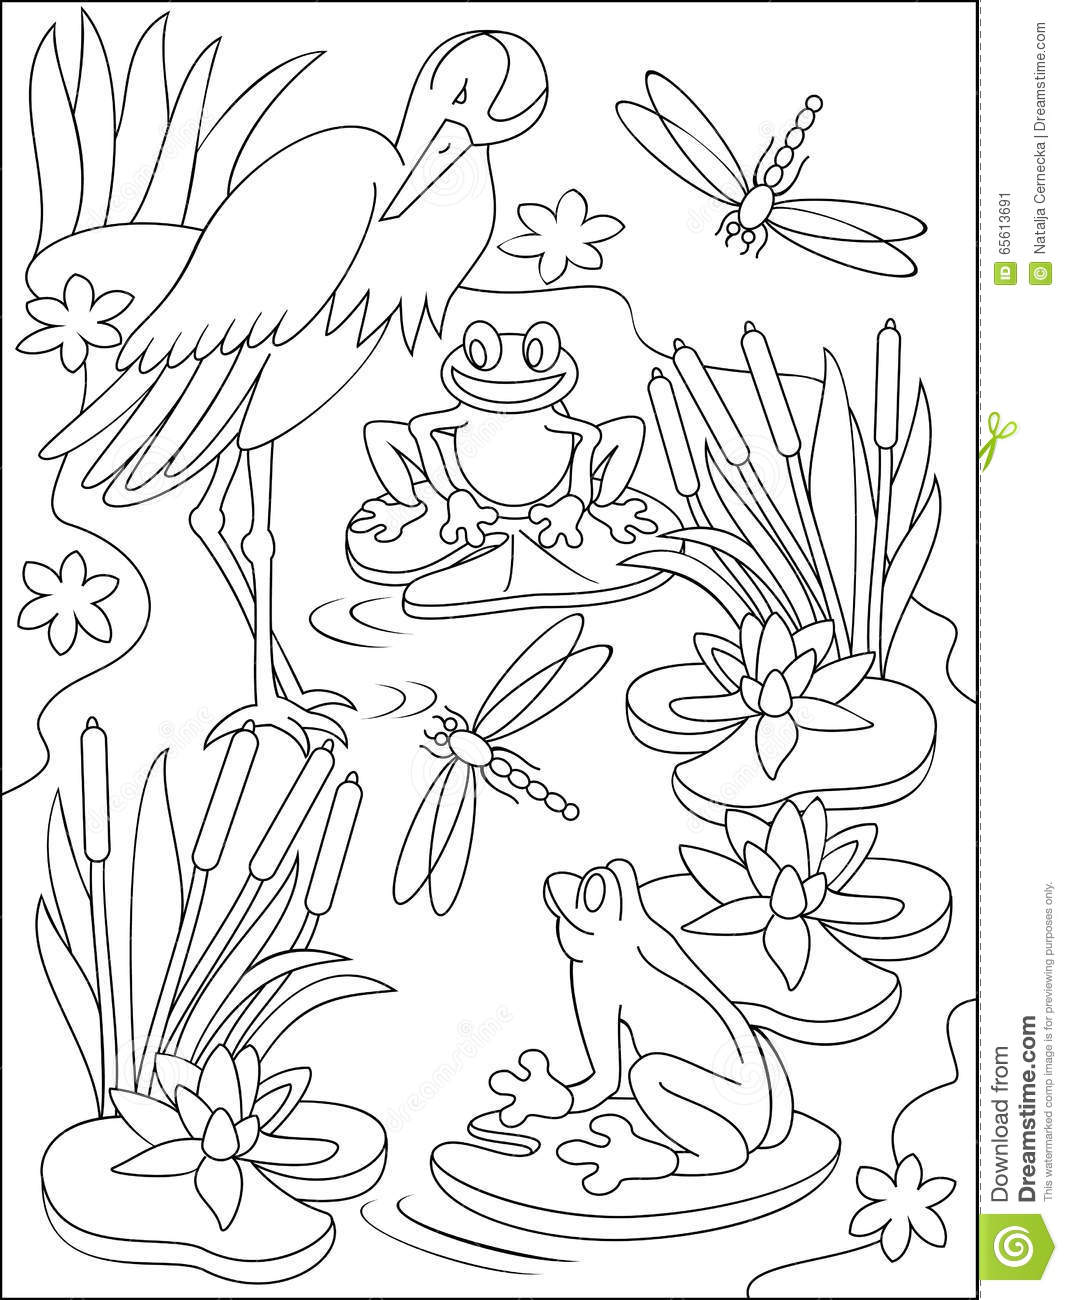
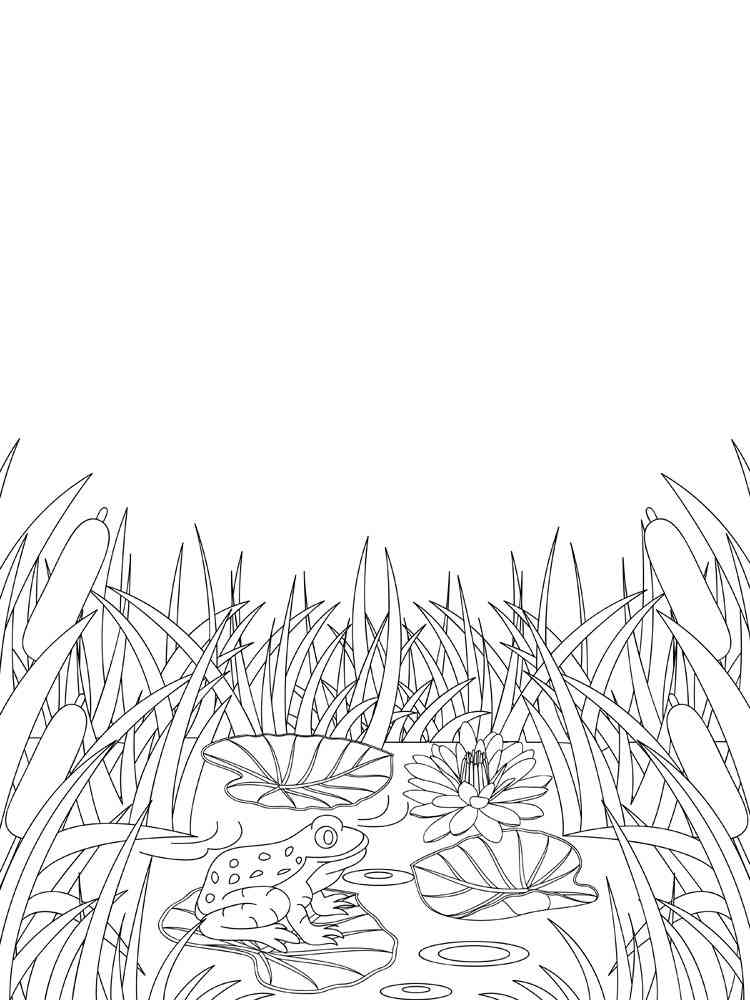
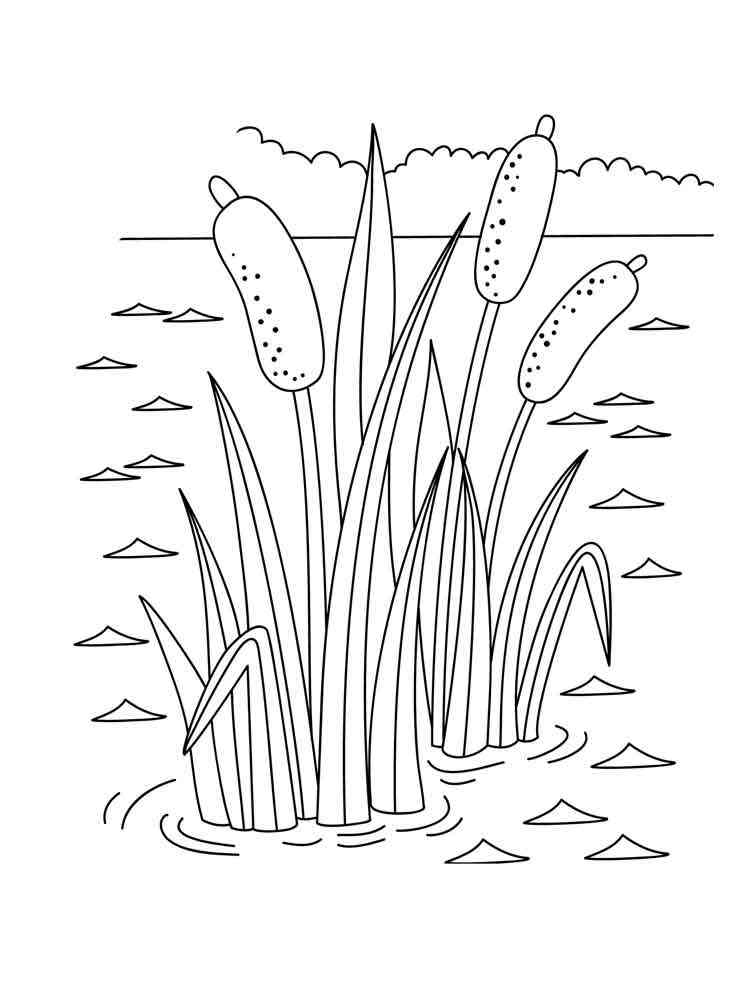
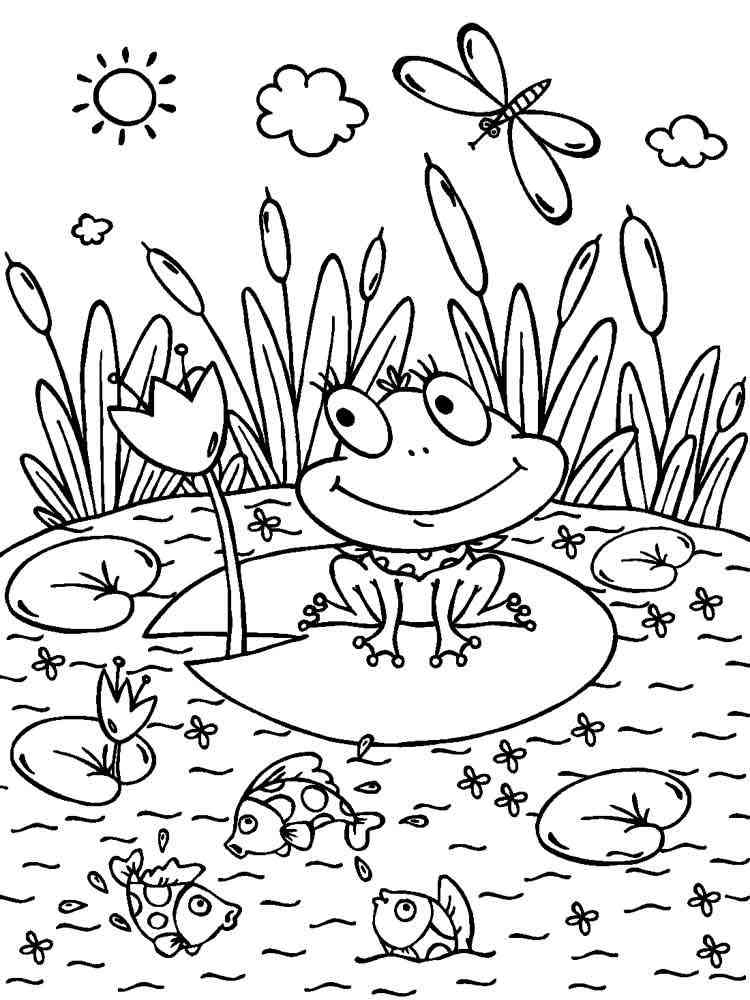
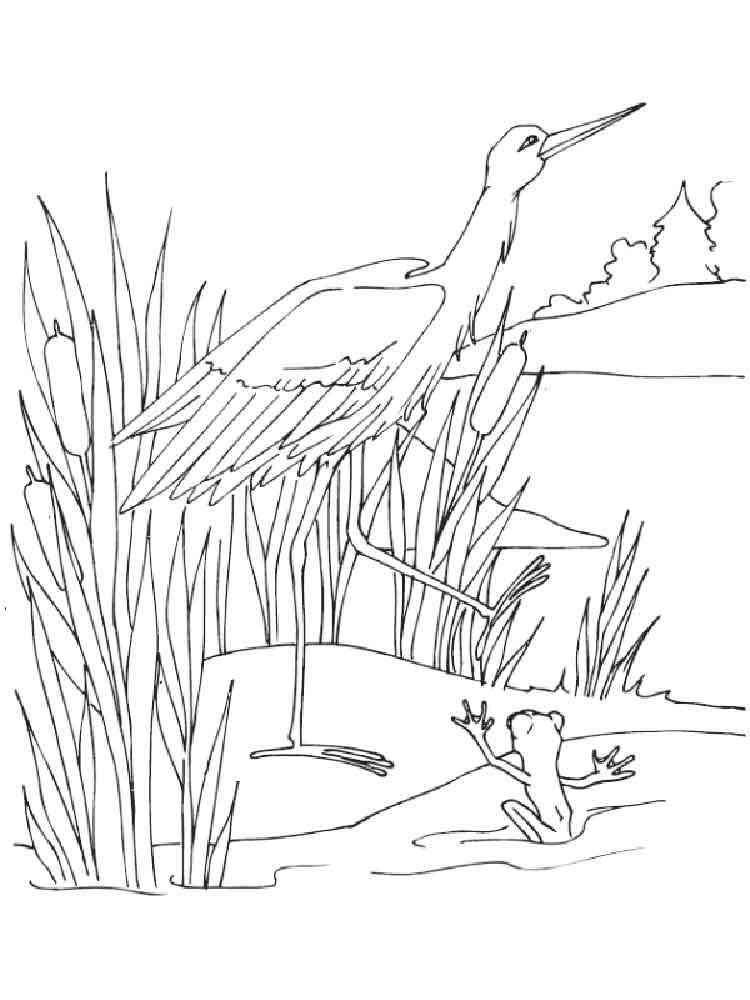
May 07, 2022 · Swamp coloring pages – a collection of pictures with a unique element of the landscape. We have put together an excellent collection of marsh coloring pages for you. A … 5
Swamp coloring, Download Swamp coloring for free 2019 6
by Harry Allard Miss Nelson/Miss Viola Swamp Craft inspiration from Pinterest: template, cover stock, crayons, scissors, adhesive I used drawings of Miss... 1-2-3 Come Do Some Viola Swamp … 7
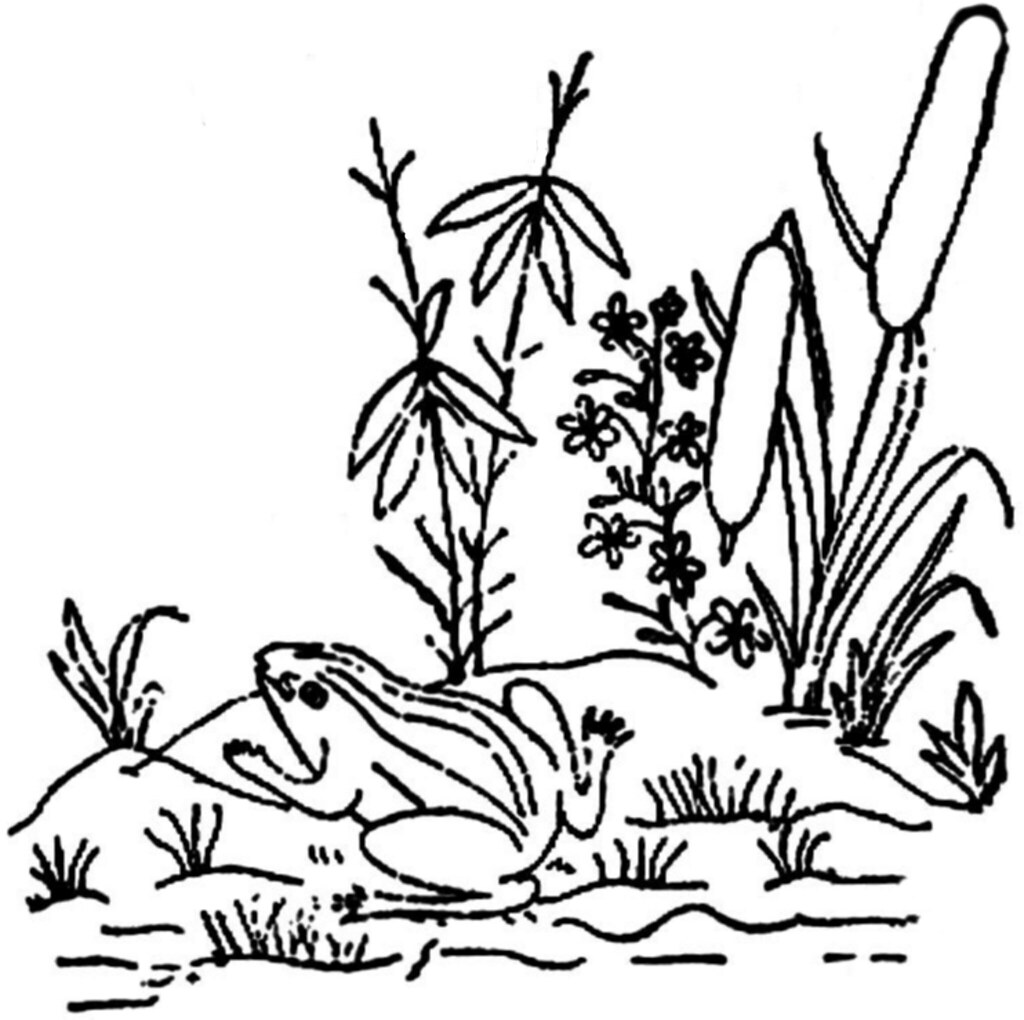
Jan 6, 2020 - Bullfrog Waiting In The Swamp Coloring Pages to Color, Print and Download for Free along with bunch of favorite Bullfrog coloring page for kids. Simply do online coloring for … 8

Swamp Coloring Pages. Download And Print Swamp Coloring Pages Comic book market with the revitalization of the. Swamp thing, is a fictional antihero in comic books published by the … 9
Swamp coloring pages. Download and print Swamp coloring pages 10
Swamp Or Bayou Coloring Page Coloring Pages 11

Swamp coloring pages | Coloring pages to download and print 12

Swamp coloring pages | Coloring pages to download and print 13

Swamp coloring pages. Download and print Swamp coloring pages 14
Swamp Coloring Page at GetColorings.com | Free printable colorings pages to print and color 15

Swamp coloring, Download Swamp coloring for free 2019 16

Sandman In The Swamp Coloring Page to Print and Download 17

Swamp coloring, Download Swamp coloring for free 2019 18
Swamp Art Coloring Pages 19

Wetland Drawing at GetDrawings | Free download 20
Swamp Pages Coloring Pages 21

Fairy Swamp Shack Printable Coloring Page - Color with Steph 22

Coloring Pages of Favorite Places in Georgia | Official Georgia Tourism & Travel Website 23
Swamp Creature Pages Coloring Pages 24
Swamp Drawing at GetDrawings | Free download 25

Swamp coloring, Download Swamp coloring for free 2019 26
Swamp Drawing at GetDrawings | Free download 27
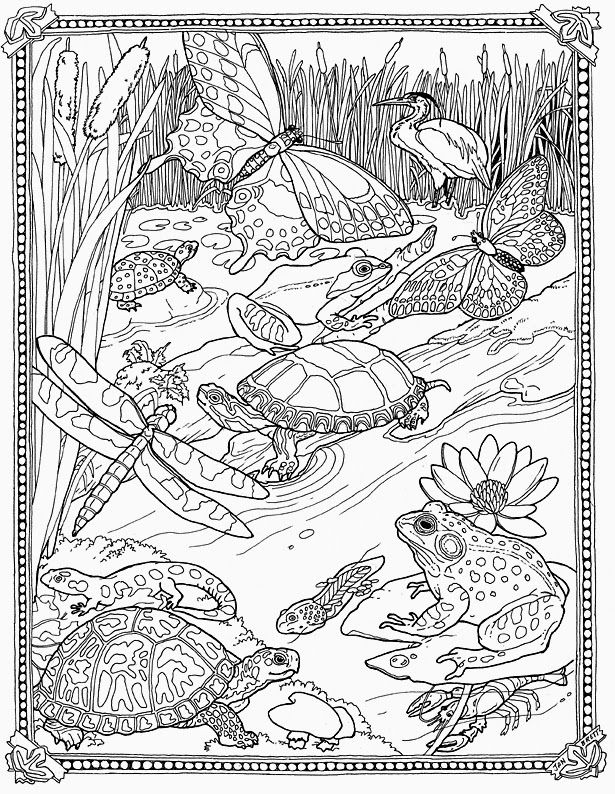
Wetlands Coloring Page at GetColorings.com | Free printable colorings pages to print and color 28

Cypress Swamp Pages Coloring Pages 29
Swamp Drawing at GetDrawings | Free download 30
Cypress Swamp Pages Coloring Pages 31

Swamp coloring pages. Download and print Swamp coloring pages 32

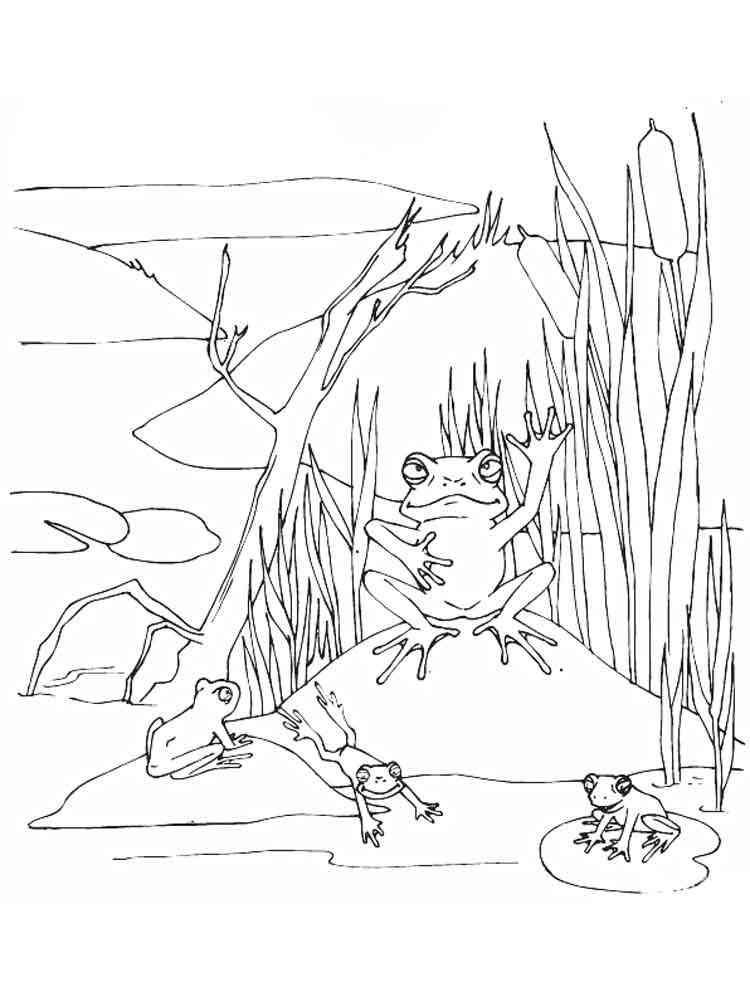
Épinglé sur Lakes Ponds Marshes Swamps 33

Crocodiles In A Swamp coloring page - Free Printable Coloring Pages | Coloring pages, Printable 34
hello and welcome to this color it in, coloring tutorial today i'm going to, show you how to color in this funny, little crocodile, so all the supplies that i used for this, project will be linked down below, and unfortunately my camera was, incredibly blurry during this part but, what i did was i took a ultra fine tip, sharpie marker and i colored in those, slits of the eyes so go ahead and do, that and then the next step is we're, going to color in the sky, and i'm going to use these neuo gel, crayons the 36 set, and what i'm going to do is i'm going to, mix up some white, and there is like this, minty green color in the box, so what i'm going to do is i'm going to, just put a base coat of, white in the background this doesn't, have to be perfect just as long as, there's, enough white to mix in with your minty, green color, and then once you've got that, we're going to just go ahead and start, coloring the sky now usually i would, have you do, a lot of outlining but in this case we, actually really don't have to do that, because um, we're just doing a lot of quick color, mixing with this background so instead, of, outlining you see how i'm just kind of, shimmying my color right up against the, lines of the crocodile so if you can do, that neatly then you don't really have, to do, too much outlining, but now that you've got the idea i'm, just going to quickly go ahead and speed, up the video you don't have to be too, bored watching that part, and then the next step is you're going, to blend, the two colors together with your finger, and of course pause the video whenever, you need to catch up because i know the, video is making it look like it's going, really fast, and go ahead and clean off your fingers, and normally the next step would be to, color the water area, but i'm going to show you how to do, reflections later so we're going to move, on to the top of the crocodile's head so, i'm going to choose a medium green color, medium meaning there is one more that's, much darker the which is like kind of, like the foresty green, so what i'm going to do here is yes we, are going to do some outlining first, because we do want to make sure that the, crocodile stays nice and neat, and notice i smoothed off the crumbs, from the gel crayon and i'm just going, to choose, the very edge to stay nice and clean as, i do my outlining, okay now that i've got everything, outlined i'm going to go ahead and color, in the crocodile's head, keeping my strokes close together and, once i get up to the eye i'm gonna blend, it out with my finger just so that my, colors don't dry out before i have a, chance to blend the whole thing, now i'm just gonna do all the rest of, the crocodile's head color it in, and blend, now i'm going to move on to the darkest, green which is that foresty green color, and i'm just going to do a little bit of, shading, so uh we want to make sure that we can, see the difference between, the back eye and the back of the head, there, so i'm going to just, throw in some of that dark green at the, bottom of that back eye and gently blend, it, into the rest of the green, and then for the back of the head you'll, be able to still see where that curve, happens at the top there, and this is where i'm just going to, throw in some of that dark green, and blend it into the rest of the green, making sure that my hand does not go, into the head but you see how we defined, the head from the neck a little bit, better there, now i'm going to move on to this bright, green it's the brightest green in the, box, and this is what we're going to use to, color the bottom half of the crocodile's, head so just be careful in here because, this is a much smaller space, and just be as careful as you can around, those teeth, so here i'm making sure to, do some outlining just to make sure i, don't go past the edges there, and here i am going to finish up my, outlining and my coloring, and then i'm going to blend it with my, finger, oh we got to make sure that your fingers, are clean first because you don't want, any of that super dark green, to mess up the bright green, now i'm going back to that medium green, color the same color as the majority of, the crocs head, i'm going to add some rings in here so, from the center of that curve, and then in front of the twos, and then just one in between those two, teeth, and here i'm going to just curve it up, to each of those points, in the middle of that curve, and then from that point, up, and then i can put two more in there, and notice that i didn't overcrowd, they're not, too close together, and my lines looked a little bit grainy, so i'm just lightly blending them a, little bit here, okay now i'm going to move on to the, light blue and i'm going to put my first, coat of this water in there, now here you can actually skip all of, this outlining that you see me doing, because i ended up just doing that same, technique that i did for the sky which, is just kind of shimmying, that blue up to the crocs, head there, and uh make sure you keep your lines as, horizontal as possible so it looks like, it's moving water, and notice i left a little bit of the, paper showing through and that's because, we're going to be doing a lot of, layering here, so the next layer is is we're going to, put the reflection in the water so let's, go back to that bright green, and i'm basically just going to color in, the mirror image of that green part but, it's not going to be perfect again you, see how i'm just doing that shimmying, motion, because the water would have been, breaking up, a perfect reflection right, so i'm still allowing a little bit of, the blue underneath to show through, so, now we're back to that medium green, color and i'm just gonna lightly outline, the bottom of the head just so we can, see, the separation of the head from the, water a little bit more clearly, and now i'm going to lightly, add in the reflections of the rings in, there, and now i'm gonna go in with that dark, foresty green, because i want this to look a little bit, more swampy, so here is another layer that we're, adding on top of the blue but do this, very very lightly because this is a very, dark green, and we're still going to do some more, reflections with that color, later on and you'll see what i mean, later but for now very lightly shimmy it, in allow some of that blue, underneath to show through, and then go ahead and blend it in and, remember keep all of your strokes as, horizontal as you possibly can, so it looks like water moving through, realistically, and, it might look a little bit grainy to you, so i went in with a filbert number 12, brush, but, since i'm only working with paper i, swiped most of the water off on the edge, of the cup, because i only need the the brush to be, slightly moist and you see how by doing, that it blends, those nuyo gel crayons, really well together because those gel, crayons are actually watercolor crayons, so the water is activating them, isn't that so cool, i love those crayons because they, they behave they look like an oil pastel, but yeah they work with water, all right so just finishing up these, last little touches, smoothing everything out again don't go, crazy with the water your brush just, barely needs a little bit, and i lost my rings a little bit so i'm, going to try to bring some of those back, because i i like the way they show, through the water, but now it looks a little too harsh so, now i'm just going to carefully blend, them with my pinky, there we go, okay now we're going to add some more, background to our scene we're really, going to make this look swampy, so i'm going to add some tall blades of, grass so notice i'm starting at the, bottom, and i'm just flicking my way up, and, you want a variety of heights because, out in the swamp you know no one's, mowing the lawn so, they'd be kind of, growing crazy all over the place, so i'm just going to fill in a little, bit of those in between, but now i'm going to switch to the, brighter green to add a little bit more, dimension to, those uh blades of grass, so we did the low lights now we're sort, of doing like the highlights, this also how helps it to look a little, bit more full in the background it just, adds more visual interest, here is where we're going to add some, more reflections in the water so we're, going to repeat the same process, but in the opposite direction to make it, look like those blades of grass really, are reflecting in the water, so starting off with that dark foresty, green, make sure they're nice and long, now going back in with the bright green, and, mine looked a little bit too grainy so, i'm going to go in with my filbert, number six brush, you could use the other size brush too, but i like this one because it's a, little bit smaller of a, of a tip there, and i'm just going to wet those blades, of grass, to sort of get rid of some of that, graininess, and you see how i turned the brush over, so that i'm i'm really just using um, the, side edge of it, and that's going to help me to um right, there at the side edge, and, just pulling up like that and i'm, releasing my pressure as i move up, that's what's going to help to get those, tapered blades of grass so that they, don't look too chunky, and it'll just help them to look a, little bit more realistic, and we'll also smooth out the, reflections, okay next up we're going to move on to, the eyes and i just pulled out the, brightest yellow from the box and we're, just going to carefully fill in, both of the eyes, and this next part is kind of optional, but it's fun, i'm going in with the bright green just, hugging the black slits, it ended up not showing up too much on, camera so if you want maybe you could, switch to the medium green so it shows, up a lot better, but, you'll also notice that it got into the, black of the eye a little bit so i'm, going in with my, opened up paper clip and i'm just, scraping out those extra bits that i, don't want in there, and to smooth it out, i just felt like my fingers were just, going to be too fat so that's why i, switched to my number six filbert brush, to, blend, the two colors together but this is, where it sort of disappeared a little, bit which is why i'd say, if you want to do that part go with the, with that darker green, although it still ended up looking, pretty cool, all right now let's not forget about his, little nostril going back to that dark, forest green let's just go ahead and, fill it in, and we're going to add some final, touches with some details i'm going in, with this white, craft paint i use folk art because it's, really opaque meaning it's not very, see-through, and i'm also going to go back to my, filbert number six brush, and i'm just going to pull the edge of, the paint with my brush so it's not too, gloppy, i'm going to use the very edge just like, we did for the blade so not like that, but like this you see how i turned it, and i'm going to add a thin, line this is going to be the water line, that tells us it's the separation, between, the actual, ground, and the water, and here i'm just adding in, some, white water lines make sure that you, stay as horizontal as possible meaning, don't dip down at an angle, or else it won't really look like, realistic water moving, and don't ignore your reflection, actually go ahead over your reflection, as well because that's part of the water, here i'm just doing it very lightly, you're not pressing too hard with this, that's how you get those, thin lines, all right now i'm going to clean off my, brush but do you see what i mean like, when you put those white water lines, it really makes it look like those, reflections are deep in the water, so for the white sparkle in the eyes you, can either use an opened up paper clip, or the back of your brush but i just, want tiny little dots so i'm going to, use my paper clip i'm going to dip it in, and it's just a quick little boop, on each eye in the same pattern, there we go, all right so i'm going to clean up my, mess i hate to waste paint so i'm going, to put some of my paint back into, its container, and one of the final touches that i'm, going to add are some flies, to me i think adding flies just sort of, makes it look even more swampy like it's, just dirty out there, and i'm gonna put three and if you do, this don't over crowd your sky with, these just, just about three spaced out will do, now this next part is is completely, optional you can call it done right here, but i decided to add some scaly texture, to my crocodile, and what i did was i just kind of made, them look like little, mountain tops, to express the um the ridges so you, might want to watch to see until the end, whether or not you, like this effect, so again you're not, overcrowding, make sure they're well spaced if you do, this, then to add some highlights, i went in with my paper clip, and i scraped out, the top of each little scale mark, although when you do that sometimes it, ends up revealing just the same green, behind it, so you might want to do this, a little bit more in the middle so that, you see a little bit of that dark, above the scraped outline if that makes, sense i'm not even sure if you can, really see it on camera but in person it, does look like little, highlights and it just adds to the, texture of those scales, well there we go we are done with this, amazing picture i hope you had fun you, learned how to add some reflections and, we used a little bit of paint, so hopefully you will join me for the, next one bye
Launch HN: Payload (YC S22) – Headless CMS for DevelopersHey HN, my name is James and I founded Payload (https://payloadcms.com/) with two close colleagues, Dan and Elliot. We're a dev-first headless CMS [1] that's half app framework and half CMS—we're closing the gap between the two. You can check out our demo here: https://demo.payloadcms.com.
Imagine you're going to build a new SaaS app. Would you think of building it on a headless CMS? Probably not. To devs, "content management system" is usually a swear word. If a team of engineers gets assigned a CMS project, it's less than thrilling. Engineers want to avoid roadblocks, write code, and build things they're proud of—but existing CMS's get in the way of that left and right with their third-party integrations, point-and-click schema designers, code generation, etc.
Rather, you'd build your backend on an app framework like Django, Laravel, etc., for good reasons: ownership over the backend, better access control, customizable auth patterns, etc. Typically, headless CMS are super limiting; you'll end up fighting the platform more than having it help. But, with app frameworks, you're often left to roll your own admin UI, and that takes time. Not to mention building CRUD UI gets old quick after you do it a few times.
That’s where a headless CMS could shine, because they instantly give you admin UI that non-technical teams can use to manage digital products. That saves a ton of UI dev time— but without an extensible API, headless CMS's are far too limiting. They're designed for marketing teams, which usually only need the generic basics: log in, create a draft, preview the draft, publish the content. Go back and update some pages. Define editor roles and localize content. If you need more than that, you'll soon be out of luck.
Payload is different because we treat developers as first-class citizens. We provide the best of both ends: a powerful and extensible API and a fully customizable admin UI out-of-the-box. All with a developer experience that we obsess over, because we want it ourselves.
Payload is code-first, which allows us to get a lot of things right. We give you what you need, then step back and let you build what you want in TypeScript. You'll understand how your CMS works because you will have written it exactly how you want it. Version control your schema and use your own Express server. Completely control the Admin panel by using your own React components. Swap out fields or even entire views with ease. Use your data however and wherever you need thanks to auto-generated, yet fully extensible REST, GraphQL, and Local Node APIs.
Since it uses your own Express server, you can open up your own endpoints alongside what Payload does. In fact, you can extend just about everything that Payload does. It's MIT and open-source, fully self-hosted, comes with GraphQL and REST APIs, and completely customizable.
We realized the need for Payload while we were building the corporate website for Klarna. The Klarna engineers we were working with were among the best in the world, and while they evaluated headless CMS options, they saw restrictions in how all of the normal contenders "black-box" away the API. They wanted to build their CMS, deploy it on their own infrastructure, and truly "own" their CMS. They fell back to using WordPress. When that happened, Klarna inadvertently shined a spotlight on the CMS market and pointed out a significant void in proper code-based, developer-first CMS. There was no one to give them the developer experience they needed. That's what got us started working on this.
It might seem like a CMS is just a wrapper around a database with a nice UI to show different field types—but in reality, it's a lot more complex than that. We obsessed for years around how to build a proper API that minimizes breaking changes, but still exposes a simple way to extend everything. When you start to introduce things like field-based access control, field-based conditional logic, localization, versions, drafts, and autosave, the task becomes a lot more daunting. Doing it right requires a significant development investment—especially if you want it to perform at scale in addition to removing roadblocks at dev time.
It seems like every day, a new headless CMS pops up. But when you filter down to those that are completely self-hosted, the options quickly dwindle. And then when you remove the confused point-and-click "no-code" (argh!) GUI nature of the existing options, the options narrow to one: Payload.
Our users have built quite a diverse set of apps on Payload. We've seen a virtual events platform, a broadcast platform, SaaS apps of all shapes and sizes, video games, and an Uber-like snow plow service! There are over 1,000 projects in production as of last week, and we can't wait to see more.
Open source has been incredibly helpful. We've gotten significant PRs and our community has gone above and beyond in their contributions. We did not anticipate the level of skill and involvement that we are seeing daily from our community.
Our business model is based on two things:
1. Enterprise features like SSO, audit logs, publication workflows, and translation workflows. Of course, as Payload is open-source, you can build these functions yourself, but enterprises are opting to pay for our official functionality and SLAs rather than rolling it themselves.
2. Cloud hosting. Now that Payload 1.0 is released and ready for production after more than two years of development and dogfooding, we've shifted focus to building a deployment platform for Payload that will deliver permanent file storage, database, API layer, and CI. It will be the easiest way to deploy Payload, but not mandatory to use—much like the NextJS and Vercel model.
You can get started in one line by running `npx create-payload-app` or you can try out our public demo at https://demo.payloadcms.com. The code for the demo is at https://github.com/payloadcms/public-demo.
We would love to hear your feedback. If we don't have something, we'll build it. If there's a sticky spot in the DX (developer experience), we’ll fix it. Looking forward to hearing what you think—and thank you!
[1] Quick refresher: CMS stands for "content management system" and headless just means API-based, with no restrictions over where you use the content on the frontend..
Reddit Images 20
Just finished another page of the coloring book. Page 6… I believe 0
page coloring for ch 171. 1
Konomi coloring by @Shazayumart (chapter 93 cover page) 2
![[No Spoilers] Digitally colored the cover page (not the actual cover of the book itself) of the Life Is Strange coloring book](https://i.redd.it/cdncsa6chuu91.jpg)
[No Spoilers] Digitally colored the cover page (not the actual cover of the book itself) of the Life Is Strange coloring book 3
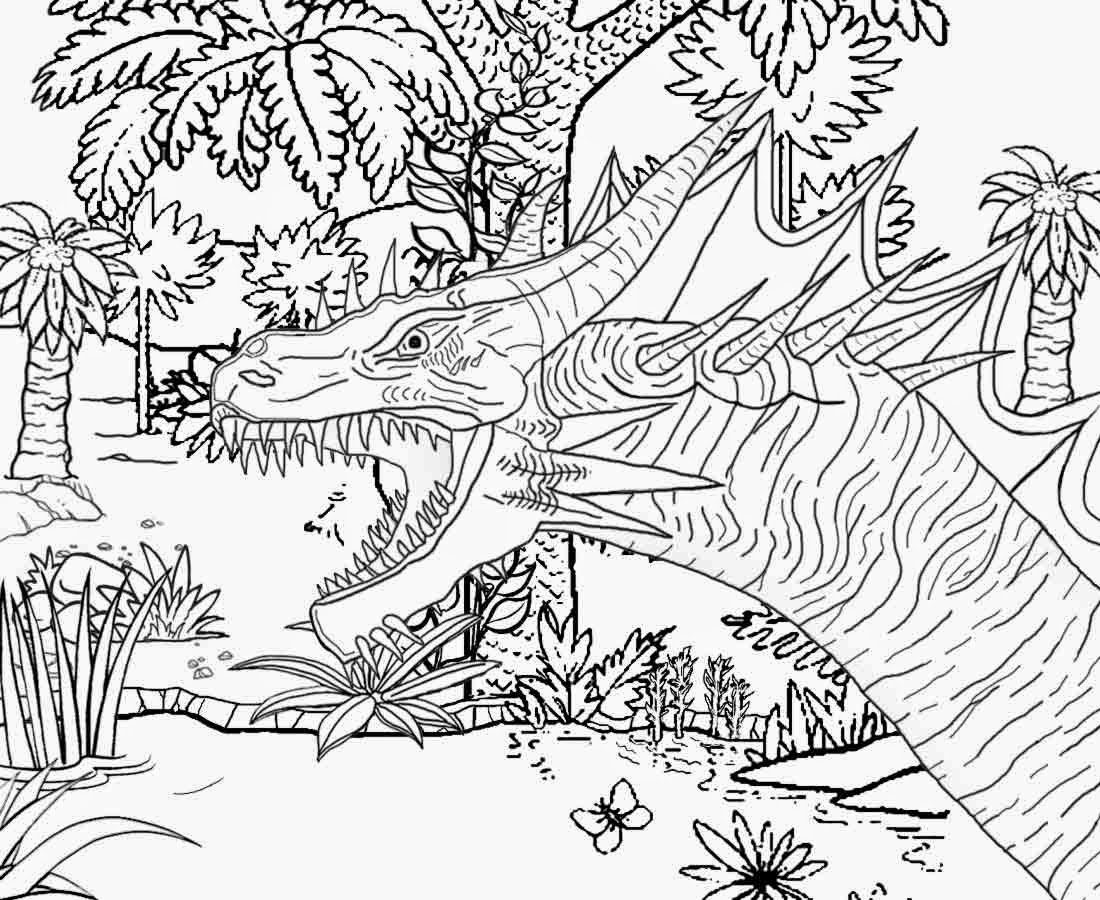
Free Coloring Book Page - Swamp Dragon 4
![[Other] who is this villain on my son’s coloring page? It’s driving me nuts!](https://i.redd.it/ihia4i1szvi91.jpg)
[Other] who is this villain on my son’s coloring page? It’s driving me nuts! 5

Jenelle is on MTV’s front page, looking like she just rolled out of The Swamp™️ 6
Randomly coloring one page of my coloring book 7

First page of the coloring book done! Any thoughts? 8
Finished piece, “The Jetsons: Robot Panic!”. Layered cardstock wall art and custom George Jetson themed Slab SP. 23 colors and nearly 200 pieces. Thinking about doing Swamp Thing next! 9
{Artwork} Finally finished working on the coloring of this mask-less Spider-Gwen. It's about 98% pencils, with 2% of it in gel pen. It's a page from Marvel's WOMEN OF POWER coloring book, w/original art by Emanuela Lupacchino from Spider-Gwen Vol 2 #6 (Cover B Variant). 10
Needs a bit of work on hair, but it was like destiny to turn this pic from Pop Manga coloring book into Honey Swamp! Where have YOU found random MH inspo? 11
My coloring of the cover page for Ch. 159 12

This took SO many hours and it isn't even technically the first page... Maybe I should have picked something easier for my first time trying adult coloring, but I've always been ambitious. 13
Trying out a new color scheme. Swamp/Death Guard inspired Null Myriad 14
BUTTHOLE SURFERS - Independent Worm Saloon (Limited Edition Swamp Green Colored Vinyl Pressing) LP 15
Colored a page in my Horror Coloring Book (with colored pencils)! Available on Amazon + 5 Free Downloadable Coloring Pages 💀 See links in comments, thank you! 16
,


Comments
Post a Comment