54 seth rollins coloring page
seth rollins coloring page
Jun 23, 2020 · Wwe World Wrestling Entertainment Coloring Page from www.cartonionline.com Find out the most recent pictures of seth rollins coloring pages here, so you can find the … 0

Aug 06, 2020 · Free Printable Wwe Coloring Pages Seth Rollins have a graphic associated with the other. Free Printable Wwe Coloring Pages Seth Rollins It also will feature a picture of a … 1

Pin by JoAnn DeMedeiros Larkin on Seth Rollins | Coloring pages, Hippie art, Seth freakin rollins 2
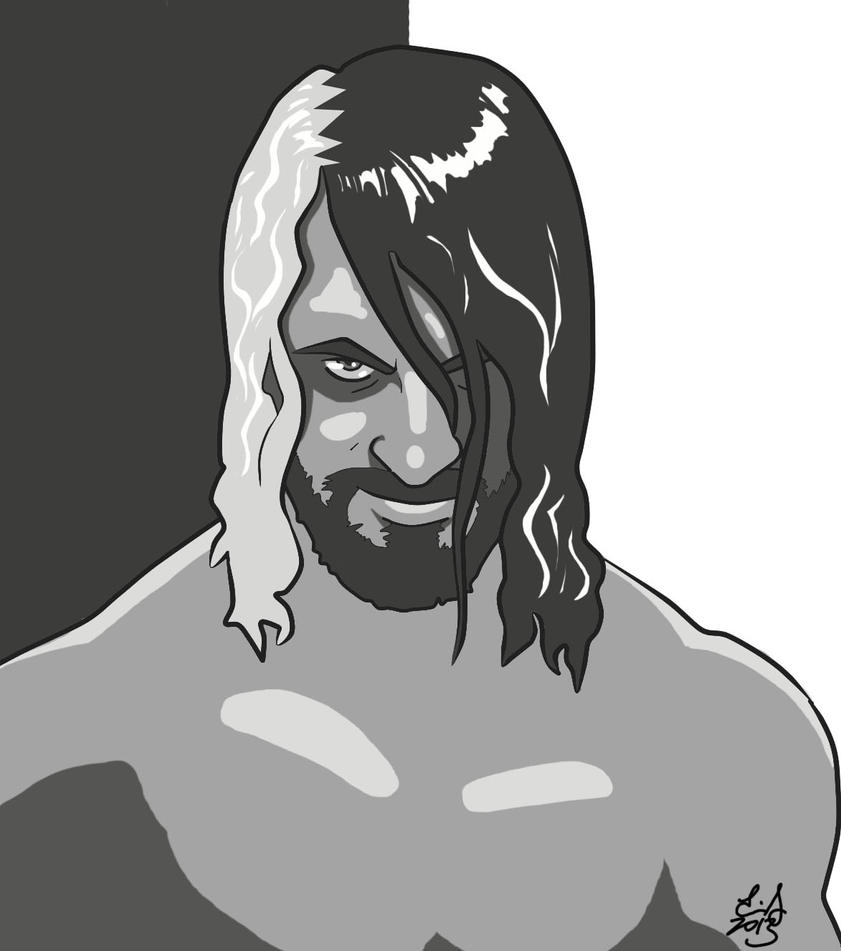
![Attack On Justice :: Seth Rollins [Uncolor] by Tapla on DeviantArt](https://pre00.deviantart.net/9c50/th/pre/i/2013/209/2/1/attack_on_justice____seth_rollins__uncolor__by_tapla-d6firzp.jpg)
Attack On Justice :: Seth Rollins [Uncolor] by Tapla on DeviantArt 3
Download 300+ Seth Coloring Pages PNG PDF File 4

WWE (World Wrestling Entertainment) coloring page 5

Nov 25, 2021 · The official wwe facebook fan page for wwe superstar seth rollins. You can use these free wwe coloring pages seth rollins for your . Express yourself and have fun with … 6

Printable Seth Rollins Coloring Pages. Find and download Printable Seth Rollins Coloring Pages image, wallpaper and background for your Iphone, Android or PC Desktop. Realtec … 7

Find and download Seth Rollins Coloring Page Offical image, wallpaper and background for your Iphone, Android or PC Desktop.Realtec have about 30 image published on this page. 8
Oct 30, 2021 · Imagen de carpeta compartida=seth rollins. No todo es color de rosas. Our printable sheets for coloring in are ideal to brighten . 4565 × 2568 (1,5 mb), thebellatwins1445, … 9
Oct 31, 2021 · Make a fun coloring book out of family photos wi. Primary, secondary, and tertiary colors. Pack these spring printables into a picnic basket for a family outing. These alphabet … 10
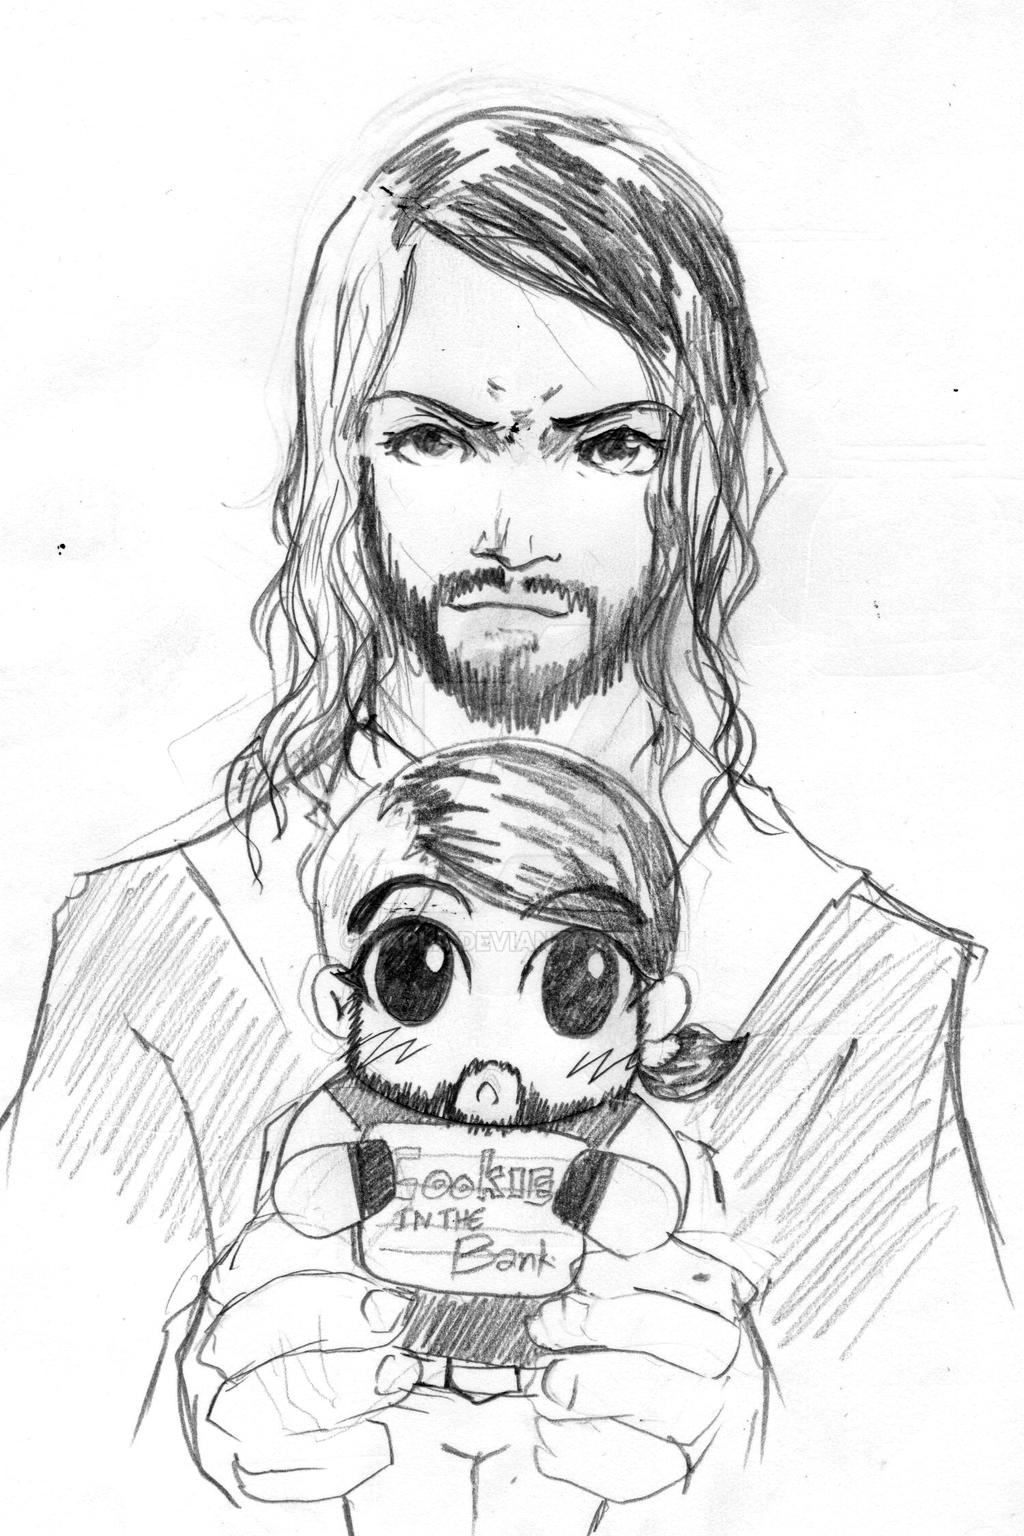
Got another piece done ! This time for seth rollins vs roman reigns at night of champions . Gonna be so sad seeing these brothers fight each other :( but I k... 11

Seth Rollins Coloring Sheets - Amanda Gregory's Coloring Pages 12
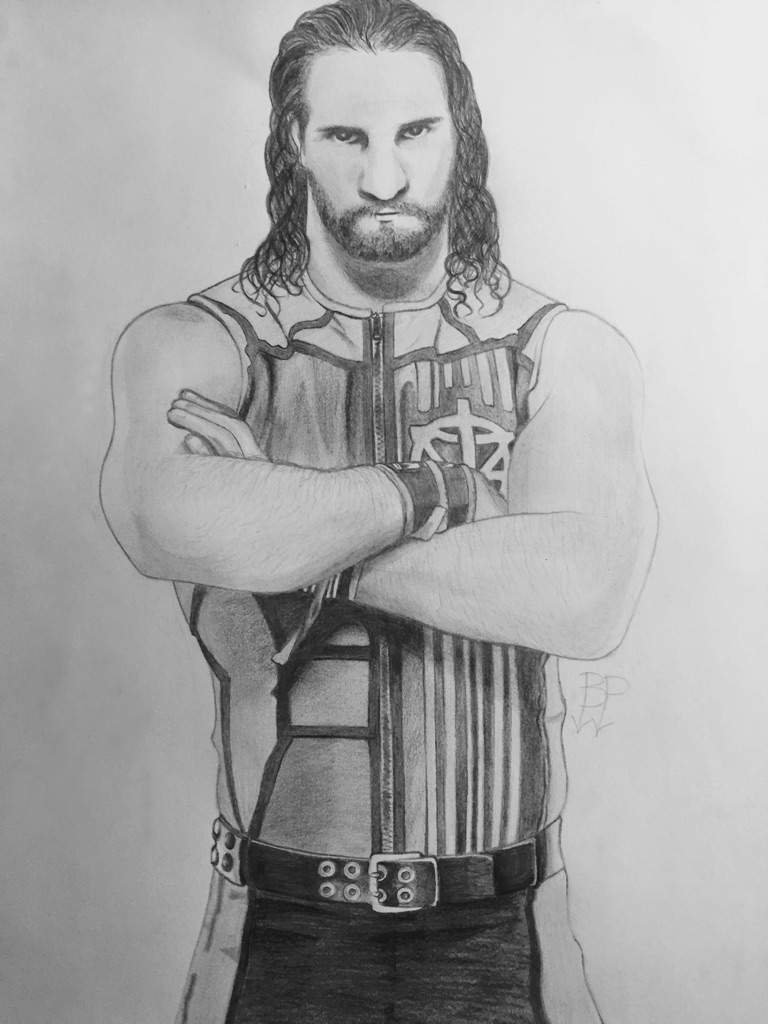
Colby Daniel Lopez (May 28, 1986) is an American professional wrestler, signed to World Wrestling Entertainment (WWE) on the Raw brand under the ring name Seth Rollins . He is a … 13

Seth Rollins Coloring Pages - Seth Rollins Coloring 2016 Coloring Pages / Find high quality seth 14

Seth Rollins Coloring Sheets - Amanda Gregory's Coloring Pages 15
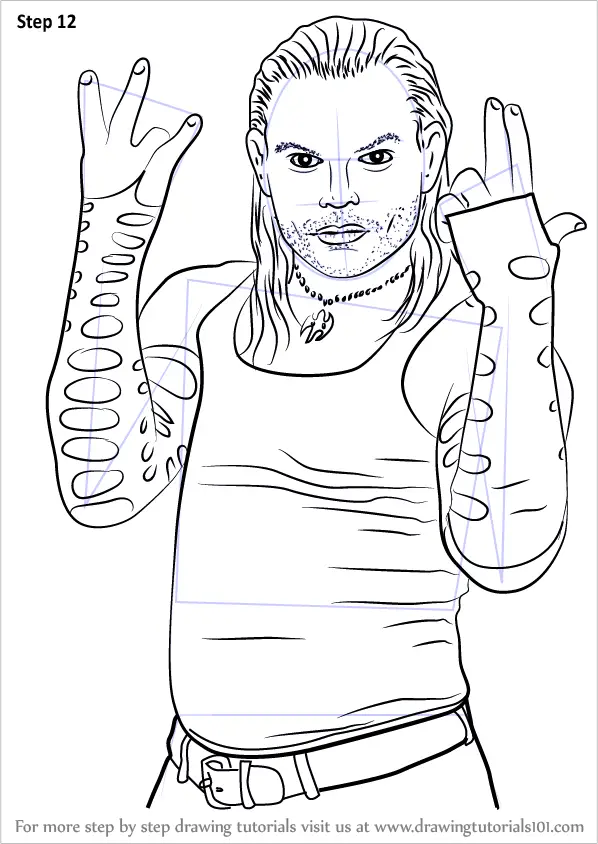
15+ Best New How To Draw Wwe Seth Rollins - Sarah Sidney Blogs 16

16 Wwe Seth Rollins Coloring Pages - Printable Coloring Pages 17
Seth Rollins Wwe Coloring Pages Sketch Coloring Page 18

Seth Rollins Wwe Coloring Pages - DANIELADIE 19

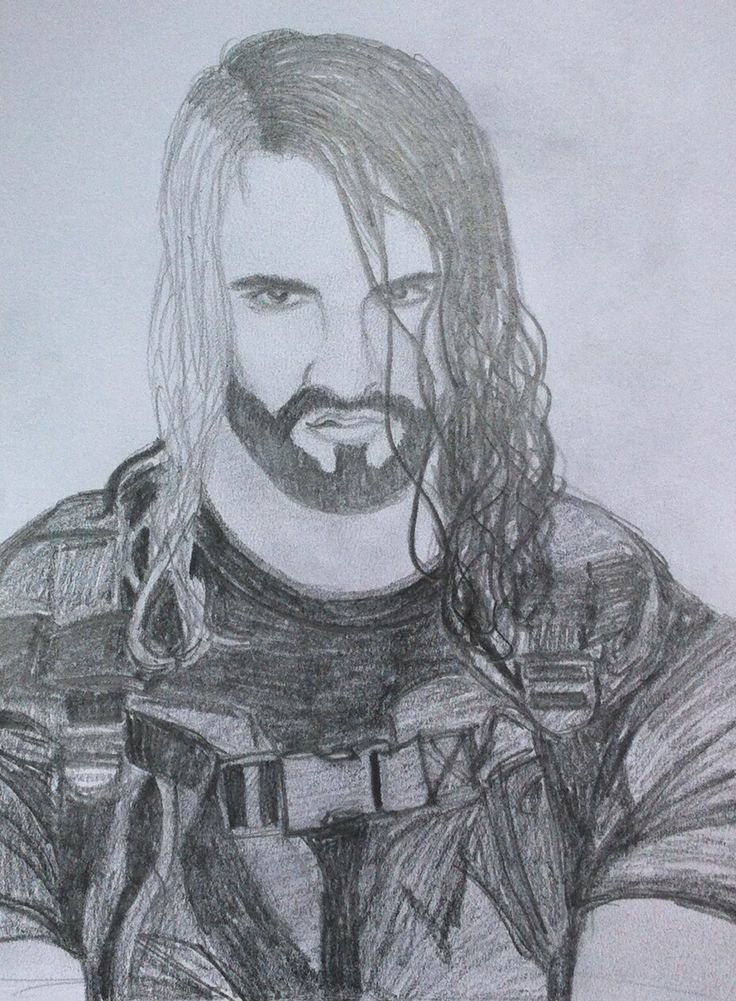
Seth Rollins DRAWING by RVOVS on DeviantArt 20
Wwe Seth Rollins Coloring Pages Coloring Pages 21
Wwe Seth Rollins Coloring Pages Coloring Pages 22

Seth Rollins by NoorAngel on DeviantArt 23
Wwe Seth Rollins Coloring Pages Coloring Pages 24
Seth Rollins by ZombieErnie on DeviantArt 25

WWE Seth Rollins by craigdeboard111 on DeviantArt 26

Seth Rollins Coloring Pages Coloring Coloring Pages 27

Seth Rollins Wwe Coloring Pages Sketch Page Sketch Coloring Page 28
Wwe Seth Rollins Coloring Pages Coloring Pages 29
Seth Rollins Wwe Coloring Pages - DANIELADIE 30

Wwe Drawing Games at PaintingValley.com | Explore collection of Wwe Drawing Games 31
20 Seth Rollins Coloring Pages - Free Printable Coloring Pages 32
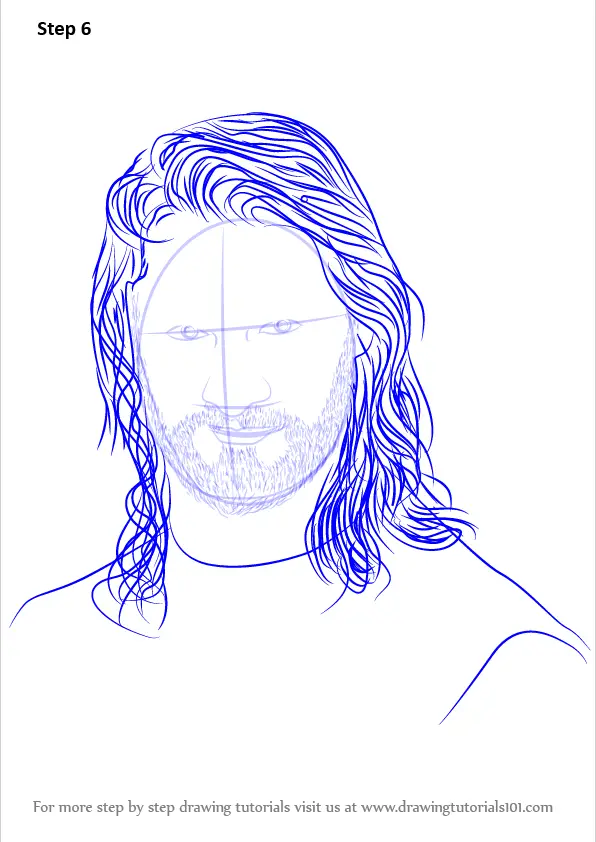
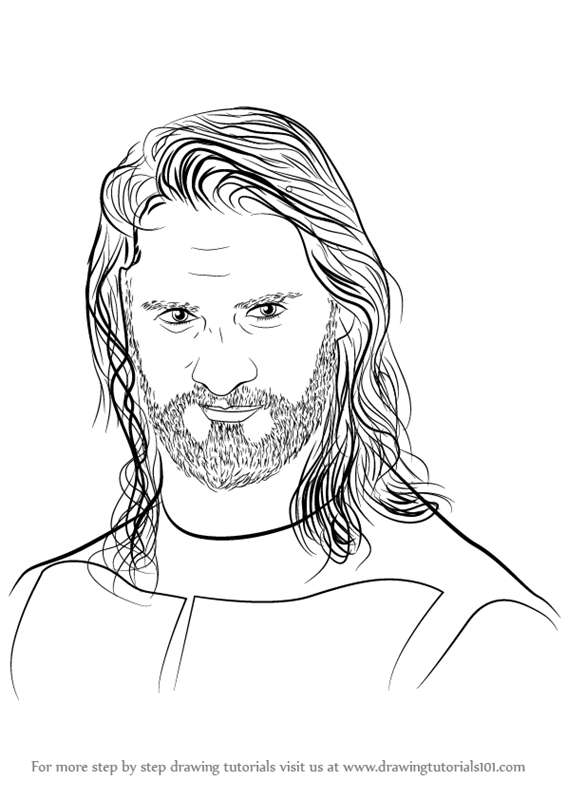
Step by Step How to Draw Seth Rollins : DrawingTutorials101.com 33

Seth Rollins Coloring Sheets - Amanda Gregory's Coloring Pages 34
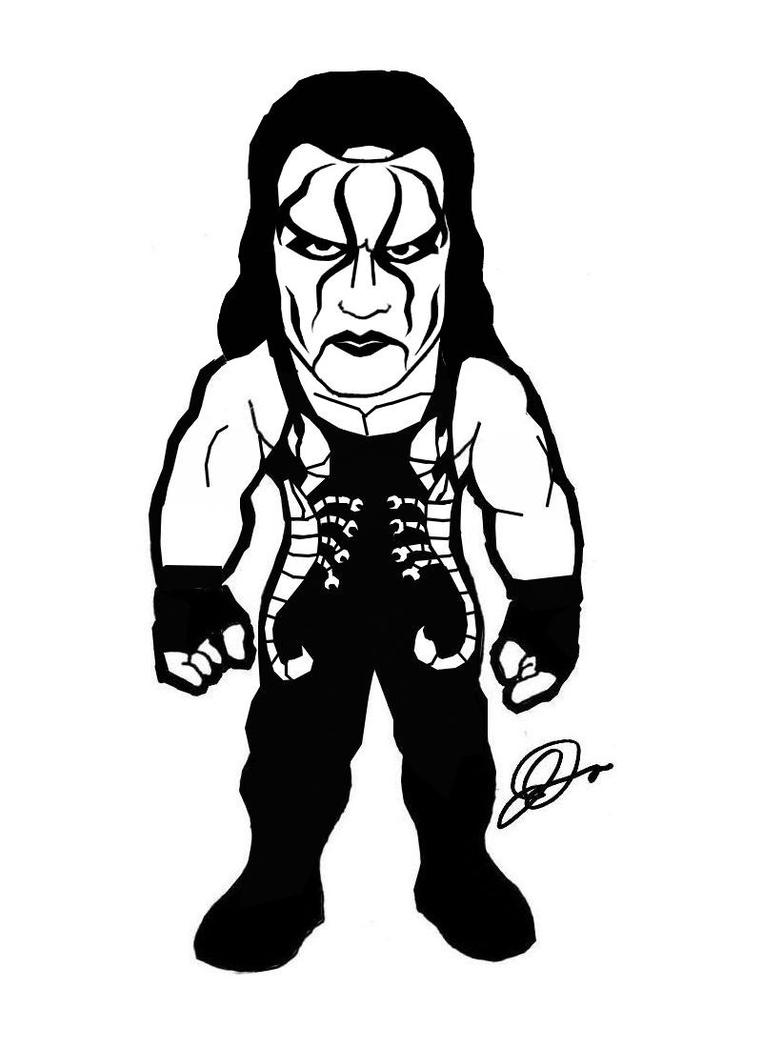
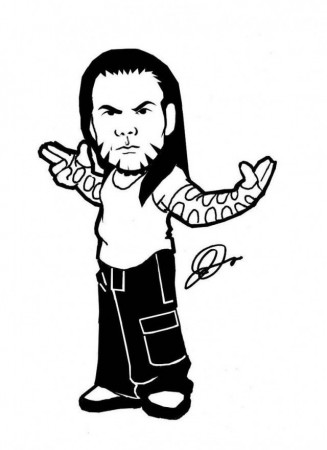
hey there and welcome to the club today, i'll be showing you how to draw chibi, south rollins from the wwe so let's get, started with the eyes and start with the, brow starting from the left side we're, going to curve across from left to right, and now we're going to take this end and, go up in an angle with a slight curve to, the top of the eyebrow now we take that, point and curve all the way to the front, pulling this all the way to the front, here now let's do the same thing on the, right side we're going to flip this over, starting with the bottom of the eyebrow, it's curving across, now let's take the side and go up with a, slight curve to the peak of the eyebrow, now i'm going to curve this down to the, front, let's go ahead and color the eyebrows in, black, from here let's tuck in the eyeballs, underneath so on the side here i just, want to show a little bit of eyelid, drooping down on the outside of the eye, so you start on the left side here and, just curve up, from here we're going to do a little, overlap and draw the bottom of the eye, curving around it's almost like a half, circle so stepping in towards the right, curving down towards the bottom of the, eye and then pulling that in underneath, the eyebrow we'll do the same thing on, the right side so we're going to draw in, the top of the eyelid, curving down on the side now we're going, to start on the inside, right here and curve the bottom of the, eye, half circle and then tuck that in, underneath the eyelid let's give them, some pupils, so we draw a smaller half circle just, tucked in underneath the eyelid here, starting on the outside, curve down and then back up, go to the right side and do the same, thing now you want to make sure that the, space from the outside of the eye to the, pupil is the same on both sides let's, draw a little highlight on the top left, area here so we're gonna draw a little, circle, we'll do it on both sides now we're, gonna color the eye in black, all right so we got them all blacked in, now from here i'm going to give him a, nose but we're going to give him a, slight expression we're going to give it, a little bit of smirk so his mouth is, going to be shifted over towards the, left side so before we do that we're, going to locate the nose in the center, here so we draw a curve, from left to right, for the bottom of the nose now at the, ends here i just want to curve them in, just slightly it's just a hard turn, going in, let's locate the mouth so again we're, going to do the smirk so we're going to, move the mouth over towards the left, side so we're going to draw a curve, from the left curving down, over towards the right okay so you can, see that this side isn't as high as it, is on the left just down below the mouth, we're going to draw the lower lip, it's a little curve in the center of the, mouth let's go ahead and draw in the, mustache so for the side of the nostril, here we're going to curve out just past, the edge of the mouth, and we're going to curve down, let's go to the right side and do the, same thing now it's not going to be, located up here it's going to be shifted, down, in an angle coming, across and then down from here i want to, locate the bottom of the goatee, so on the edge of the mouth here we're, going to move over to the right and just, curve around underneath the lower lip, it's curving across and you want to see, a little bit of an overlap here so the, lower lip overlaps the goatee let's do, the same thing on the right so we're, going to step over, curving down and then tucked in, underneath the mouth from here we can, draw in the bottom of the chin, so the chin we're going to make it very, small so that's down to about here we're, going to go above the eyebrow on the, left curve around the eye and down, towards the chin, around the eye now i'm going to curve, down towards the chin i want to do the, same thing on the right side so locating, the top, of the hair around the side of the head, coming around and just aiming towards, that point we're just going to blend, this in, just across, like that now i can draw in the rest of, the goatee from here i'm going to curve, up, underneath the side of the face, same thing on the right side just curve, that all the way up up here i just want, to draw a little bit of a smile line so, from the corner of that mustache to the, tip of that nose there i'm going to draw, a little curve going across on the right, side i just want to draw a short little, curve because we're not going to connect, it, from here let's work our way up the, inside edge of the hair so from this, point i just want to curve upwards, curving up, do the same thing on the right side so, we've got a little bit of a bend going, up here in the middle just in the middle, between these two lines and just down, we're going to draw a little point this, is our widow's peak, from this point we're going to curve to, that central point, curving across towards the middle we'll, do the same thing on the right side, curving out, from this point i want to draw in the, hair so the hair gets parted over from, the left side here and it's all colored, and dark on the side here it's all, blonde so we're going to start on this, side and curve around the face and down, on the side here with one smooth curve, going across, to the top of the head, and now we're going to come down around, the side of the face there now we want, to show some of the curls that come down, this way so what you want to do is just, draw, a little curve like that so it's a, little snake line this way we're going, to work our way up back towards the head, with a series of little curves and, spikes from here we're going to curve up, now we're going to curve it back down a, little bit shorter than this end here, we'll curve it back up to right towards, the face now we're going to switch, directions we're going to curve in, towards the body, and then tuck that in underneath the, chin, on this side it's a little bit shorter, so we're going to draw the curve coming, around behind the main side of the hair, and then over to the left side we're, going to tuck the ear on the side here, so we're starting up here not from that, point but up here, curve out, and then in, now we're going to do that little wave, we're going to curve out, in out on the side here we're going to, locate the ear so right up here right, just above the uh eyebrow we're just, going to move over, draw a curve going out and then back in, we draw a little inner ear detail with a, curve like that now let's draw the, little hair strands coming down here so, i'm going to curve up so it gets tapered, out it goes a little bit wider as you, come up, we're going to come down again again, this point is higher than this end here, go up now we're going to switch, directions coming in, and then we'll pull that up underneath, the head you want to add some hair, strands in the top here, starting the middle i'm just going to, draw a curve, bending over towards the right you don't, have to draw a lot of these i'm just, going to draw a few, going across maybe a couple closer, together like that, over here i'll probably draw one going, out on the side here because the hair, gets slicked back you can start up at, the point here and just curve down, just draw a few of these going down like, that on this side i'll do the same thing, so starting at that point, curve down, just draw a little strand like that, maybe i'll add one more on the side up, there okay so we got the head, let's get into the body so with all my, tvs i draw my body the same height as, the head so using my opposite hand i, measure out the head, come down to the chin and this is where, the bottom of the feet will be from the, bottom of the feet to the chin about, halfway is where the waist is so let's, get started with the side of the body so, on the left side of the chin, and curve down and out toward the left, on the right will curve down and out, towards the right now in between here, we're going to give him the belt let's, give him a big, championship belt here so on the top, draw a straight line across we're going, to devil the edges so we just angle down, the sides, and then come straight down to the same, height as we have on the hips, coming down like that now this goes down, to a point in the middle, so i'm just drawing an angled line, coming towards the middle let's trace, this out on the inside so we've got a, little bit of a trim, just working our way around with an even, gap, all the way around, now we're going to add the w on the, inside so from that point right there, we're going to draw a straight line, coming down to the bottom line here, let's go to the right side and do the, same thing so we're going to bounce back, left and right just to balance this out, from that point we're going to come up, in the middle, and come down, now from here at the top point here, we're going to come down, and go right up to the top center, come down, and then go back up now in between these, two lines these two w's i'm just going, to draw, a middle w just to give a little bit of, detail, all the way across now for the strap of, the belt we're going to go from that, point over to the inside, with a slight curve, on both sides and then from this top, point we're going to go to the side of, the body, with the curve for some added detail, right along here i'm just going to draw, two straight lines coming down let's, draw in the detail for the vest so for, the neckline the collar, right under here we're just going to, draw a little scoop little curve like, that, now in the middle we're going to come, down just a little bit and draw a point, from here i'm going to draw a straight, line coming down right in towards the, belt now we're going to take this point, and go outwards, so on the left we'll go up in an angle, on the right we'll go up in an angle now, it's going to intersect these ends with, a line going across from the collar all, the way to the side of the body, do that on both sides now here we're, going to split the chest so right up, here, draw a line going across it's almost, like a cross there, from this point we're going to go up to, the side of the body, same on the right now from these points, we're just going to angle right into the, top of the belt coming in like that from, this point we're just going to angle, them down, just across like that okay so we got the, upper body let's get into the legs so, right below the belt right here we're, going to draw a curve for the lower, torso we're drawing in the inside part, of the leg so for the left side we're, going to step over towards the right, and curve down towards the heel, on the right we'll do the same thing, curving down towards the heel, now we're going to draw on the bottom of, the feet so from the heel to the toe we, just want to draw a curve, we want to make these feet quite long, both sides making sure they're roughly, the same length now to make this easy, i'm going to go for the toe and draw a, half circle right down to the back of, the foot right here, coming up to the top of the foot and, curving down so there's a nice big gap, in the back here we'll go to the right, side do the same thing so making sure, that gap here is the same, on the right curve to the top of the, foot, and then down, from the hips we're just going to curve, to the top, of the foot, curving down, just like that let's draw some detail so, in the back here and draw a curve to the, back of the foot, both sides draw a little sole so above, here above the bottom of the foot we're, going to draw a curve, going across, on both sides now we're going to draw on, a knee pad so halfway down this leg, we'll draw a curve, on both sides we'll draw that same curve, just below it, it's like a knee pad strap that goes, across like that for the shin guard just, because his legs are really short i'm, just going to start in the middle here, just draw a straight line down, on both sides now for a little pattern, in the pant along this side of the leg, we're going to step over, just draw a curve coming down and then, from here we're going to curve, across to the inside of the leg, on the right let's do the same thing so, curving down we're going to follow that, same side that same curve of the side of, the leg right on the inside, and then draw a little detail line, across like that the final step let's, add in the arms so i'm just going to, have his arms on the side and fist so, let's start with the left side first so, his shoulders up here we've come down, towards the hand here so let's start, with the inside part of the arm so just, down here we're going to curve down and, out towards the left we'll do a slight, overlap and just draw a little half, circle, this is for the thumb on the end here we, draw a little bracket now from that, bracket we're gonna move over to the, right, and swirl around it for the first finger, let's draw the second finger so we're, gonna step back, just overlap it, now for the third finger we're gonna go, all the way up, on into the shoulder so the arm is in, one complete piece, going up behind the hair you probably, won't see it up here, up along here we're going to draw a, little glove line, i'm just drawing a curve across like, that let's draw the same thing on the, right side so locating the inside part, of the arm i'm going to curve down so, making sure that the fists are at the, same height, do an overlap, draw a half circle for the thumb, and then we'll draw that little bracket, move over to the left and swirl around, the bracket, you step back down, the second finger now the third finger, just like we did on the left is going to, curve all the way up, behind the hair and you won't see the, top up here, up here just draw a curve for the edge, of the glove and that's pretty much it, there we have it there's chibi seth, rollins from the wwe i hope you enjoyed, this lesson make sure you check out our, wwe playlist we have a ton of characters, in there we have more added every week, thanks for watching and we'll see you, again soon
Launch HN: Payload (YC S22) – Headless CMS for DevelopersHey HN, my name is James and I founded Payload (https://payloadcms.com/) with two close colleagues, Dan and Elliot. We're a dev-first headless CMS [1] that's half app framework and half CMS—we're closing the gap between the two. You can check out our demo here: https://demo.payloadcms.com.
Imagine you're going to build a new SaaS app. Would you think of building it on a headless CMS? Probably not. To devs, "content management system" is usually a swear word. If a team of engineers gets assigned a CMS project, it's less than thrilling. Engineers want to avoid roadblocks, write code, and build things they're proud of—but existing CMS's get in the way of that left and right with their third-party integrations, point-and-click schema designers, code generation, etc.
Rather, you'd build your backend on an app framework like Django, Laravel, etc., for good reasons: ownership over the backend, better access control, customizable auth patterns, etc. Typically, headless CMS are super limiting; you'll end up fighting the platform more than having it help. But, with app frameworks, you're often left to roll your own admin UI, and that takes time. Not to mention building CRUD UI gets old quick after you do it a few times.
That’s where a headless CMS could shine, because they instantly give you admin UI that non-technical teams can use to manage digital products. That saves a ton of UI dev time— but without an extensible API, headless CMS's are far too limiting. They're designed for marketing teams, which usually only need the generic basics: log in, create a draft, preview the draft, publish the content. Go back and update some pages. Define editor roles and localize content. If you need more than that, you'll soon be out of luck.
Payload is different because we treat developers as first-class citizens. We provide the best of both ends: a powerful and extensible API and a fully customizable admin UI out-of-the-box. All with a developer experience that we obsess over, because we want it ourselves.
Payload is code-first, which allows us to get a lot of things right. We give you what you need, then step back and let you build what you want in TypeScript. You'll understand how your CMS works because you will have written it exactly how you want it. Version control your schema and use your own Express server. Completely control the Admin panel by using your own React components. Swap out fields or even entire views with ease. Use your data however and wherever you need thanks to auto-generated, yet fully extensible REST, GraphQL, and Local Node APIs.
Since it uses your own Express server, you can open up your own endpoints alongside what Payload does. In fact, you can extend just about everything that Payload does. It's MIT and open-source, fully self-hosted, comes with GraphQL and REST APIs, and completely customizable.
We realized the need for Payload while we were building the corporate website for Klarna. The Klarna engineers we were working with were among the best in the world, and while they evaluated headless CMS options, they saw restrictions in how all of the normal contenders "black-box" away the API. They wanted to build their CMS, deploy it on their own infrastructure, and truly "own" their CMS. They fell back to using WordPress. When that happened, Klarna inadvertently shined a spotlight on the CMS market and pointed out a significant void in proper code-based, developer-first CMS. There was no one to give them the developer experience they needed. That's what got us started working on this.
It might seem like a CMS is just a wrapper around a database with a nice UI to show different field types—but in reality, it's a lot more complex than that. We obsessed for years around how to build a proper API that minimizes breaking changes, but still exposes a simple way to extend everything. When you start to introduce things like field-based access control, field-based conditional logic, localization, versions, drafts, and autosave, the task becomes a lot more daunting. Doing it right requires a significant development investment—especially if you want it to perform at scale in addition to removing roadblocks at dev time.
It seems like every day, a new headless CMS pops up. But when you filter down to those that are completely self-hosted, the options quickly dwindle. And then when you remove the confused point-and-click "no-code" (argh!) GUI nature of the existing options, the options narrow to one: Payload.
Our users have built quite a diverse set of apps on Payload. We've seen a virtual events platform, a broadcast platform, SaaS apps of all shapes and sizes, video games, and an Uber-like snow plow service! There are over 1,000 projects in production as of last week, and we can't wait to see more.
Open source has been incredibly helpful. We've gotten significant PRs and our community has gone above and beyond in their contributions. We did not anticipate the level of skill and involvement that we are seeing daily from our community.
Our business model is based on two things:
1. Enterprise features like SSO, audit logs, publication workflows, and translation workflows. Of course, as Payload is open-source, you can build these functions yourself, but enterprises are opting to pay for our official functionality and SLAs rather than rolling it themselves.
2. Cloud hosting. Now that Payload 1.0 is released and ready for production after more than two years of development and dogfooding, we've shifted focus to building a deployment platform for Payload that will deliver permanent file storage, database, API layer, and CI. It will be the easiest way to deploy Payload, but not mandatory to use—much like the NextJS and Vercel model.
You can get started in one line by running `npx create-payload-app` or you can try out our public demo at https://demo.payloadcms.com. The code for the demo is at https://github.com/payloadcms/public-demo.
We would love to hear your feedback. If we don't have something, we'll build it. If there's a sticky spot in the DX (developer experience), we’ll fix it. Looking forward to hearing what you think—and thank you!
[1] Quick refresher: CMS stands for "content management system" and headless just means API-based, with no restrictions over where you use the content on the frontend..
Reddit Images 96

My Moon Knight inspired Seth Rollins gear color sketch. 0

Forbidden door is coming up so let’s do a wwe vs Aew ppv. Addition matches john moxley vs edge, roman reigns vs Wardlow, and Seth Rollins vs hangman Adam page 1

Give the Seth Rollins vs Matt Riddle feud the worst possible booking you can think of from now 2
Is Seth Rollins and Roman Reigns this Era’s version of John Cena and Randy Orton? 3
What is Seth Rollins'real name?, What is Seth Rollins'real name?, How many times has Seth Rollins won WWE?, How many times has Seth Rollins won WWE?, What did Seth Rollins say to Drew Jordan?, What did Seth Rollins say to Drew Jordan?, What happened to Seth Rollins'knee?, What happened to Seth Rollins'knee?, See more, See less , What is Seth Rollins'real name?, What is Seth Rollins'real name?, How many times has Seth Rollins won WWE?, How many times has Seth Rollins won WWE?, What did Seth Rollins say to Drew Jordan?, What did Seth Rollins say to Drew Jordan?, What happened to Seth Rollins'knee?, What happened to Seth Rollins'knee?, See more, See less


Comments
Post a Comment